DIY Guide To Installing a Faucet for Your Freestanding Bathtub
Welcome to our comprehensive DIY Guide To Installing a Faucet for Your Freestanding Bathtub! Whether you’re a seasoned DIY enthusiast or a homeowner looking to tackle your first project, installing a faucet can seem like a daunting task. However, with the right tools and a bit of guidance, you can transform your bathroom with a sleek and functional new faucet.
In this step-by-step guide, we’ll walk you through everything you need to know, from selecting the perfect faucet for your freestanding tub to ensuring a secure and watertight installation. By the end of this tutorial, you’ll have the confidence and skills to complete the job successfully and add a touch of elegance to your bathing space. Ready to get started? Let’s dive into the world of DIY faucet installation and turn your vision into reality!
DIY Guide To Installing a Faucet
Step 1: Gather Your Materials
Before you begin the installation process, make sure you have all the necessary materials on hand. Here is a list of items you will need:
- Freestanding bathtub faucet: Choose a faucet that complements the style of your bathtub and meets your functional requirements.
- Adjustable wrench: This tool will help you tighten and secure the faucet in place.
- Pipe wrench: Use a pipe wrench to remove the old faucet and connect the water lines.
- Plumber’s tape: Apply the plumber’s tape to the threads of the faucet to ensure a watertight seal.
- Silicone caulk: Seal around the base of the faucet with silicone caulk to prevent water damage.
- Screwdriver: You may need a screwdriver for certain faucet models.
- Bucket: Have a bucket on hand to catch any water that may leak during the installation process.
- Towels: Keep towels nearby to clean up any spills or messes.
Step 2: Turn Off the Water Supply
Before you start working on installing the faucet, it is important to turn off the water supply to the bathtub. Locate the shut-off valves near the bathtub and turn them off to prevent any water from flowing while you work on the installation.
Step 3: Remove the Old Faucet
If you are replacing an old faucet, start by removing the existing faucet. Use a wrench to loosen and remove the nuts and bolts holding the faucet in place. Once the old faucet is removed, clean the area to prepare it for the new faucet installation. Consider using a mild cleaning solution to remove any residue or build-up around the faucet area.
Step 4: Install the New Faucet
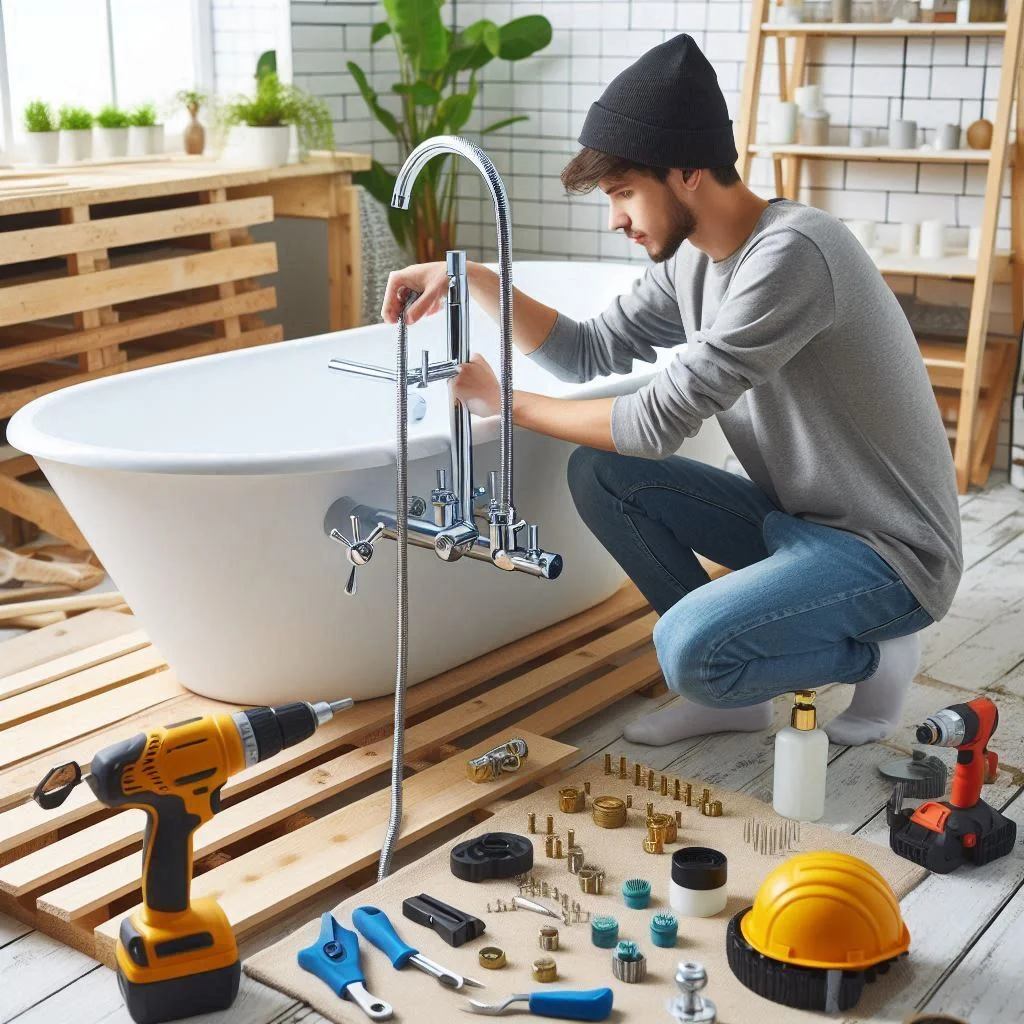
Begin by installing the new faucet according to the manufacturer’s instructions. Make sure to use the plumber’s tape on the threads of the faucet to create a tight seal. Position the faucet in the desired location on the bathtub and secure it in place using the appropriate tools. Double-check that the faucet is level and aligned correctly with the bathtub to ensure proper functionality and aesthetics.
Step 5: Connect the Water Lines
Once the faucet is securely in place, it’s time to connect the water lines. Use a wrench to attach the hot and cold water supply lines to the corresponding connections on the faucet. Ensure that the connections are tightened securely to prevent any leaks. Consider adding a water line extension if needed to reach the faucet connections.
Step 6: Seal the Faucet
After connecting the water lines, use silicone caulk to seal around the base of the faucet. Apply a bead of caulk along the edges where the faucet meets the bathtub surface to create a watertight seal. Smooth out the caulk with a caulk finishing tool or your finger for a clean and professional look. Allow the caulk to dry completely before using the faucet.
Step 7: Test the Faucet
Before finishing the installation, turn the water supply back on and test the faucet to ensure it is working properly. Check for any leaks around the connections and base of the faucet. Run both hot and cold water through the faucet to verify that water flows smoothly and there are no issues with the water pressure. Make any necessary adjustments to the installation to address any potential problems.
Step 8: Enjoy Your New Faucet
Congratulations! You have successfully installed a faucet for your freestanding bathtub. Now, sit back, relax, and enjoy the luxurious addition to your bathroom. Take the time to appreciate the new faucet and how it enhances the overall look and functionality of your bathtub.
In conclusion, DIY guide to installing a faucet for your freestanding bathtub can be a straightforward DIY project with the right tools and know-how. By following these steps and taking the time to properly install the faucet, you can upgrade your bathroom with a stylish and functional new fixture. Enjoy the process of transforming your bathtub and creating a more comfortable and enjoyable space for yourself and your family.
FAQ
- What materials do I need to install a faucet for my freestanding bathtub?
- Freestanding bathtub faucet
- Adjustable wrench
- Pipe wrench
- Plumber’s tape
- Silicone caulk
- Screwdriver
- Bucket
- Towels
- How do I remove the old faucet before installing a new one?
To remove the old faucet, use a wrench to loosen and remove the nuts and bolts holding the faucet in place. Once removed, clean the area to prepare for the new faucet installation.
- How do I connect the water lines to the new faucet?
Use a wrench to attach the hot and cold water supply lines to the corresponding connections on the new faucet. Ensure the connections are tight to prevent leaks.
- How can I test if the new faucet is working properly after installation?
Turn the water supply back on and test the faucet to ensure it is working correctly. Check for leaks and make any necessary adjustments to the installation.


